Assigned to multiple buildings? Ensure the drop-down in the upper-left corner reflects the school the class will be taught under.

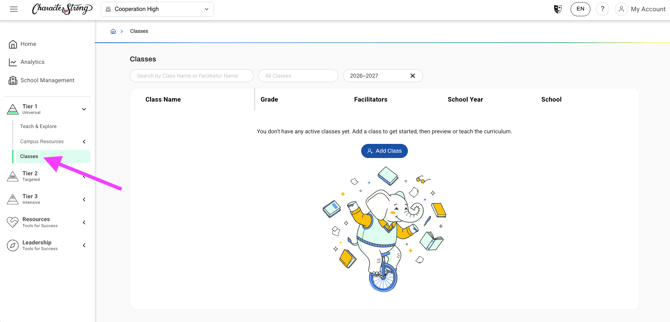
- Open Tier 1 and select "Classes" in the left navigation menu.
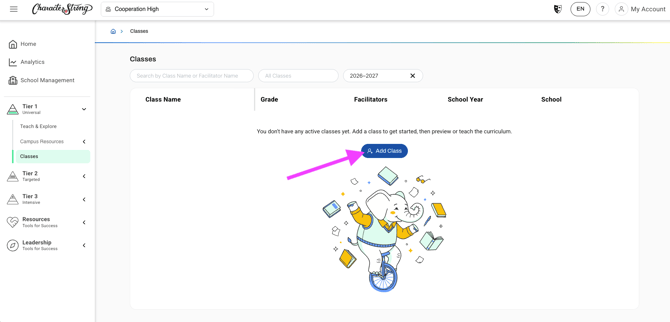
- Select the blue "Add Class" button.
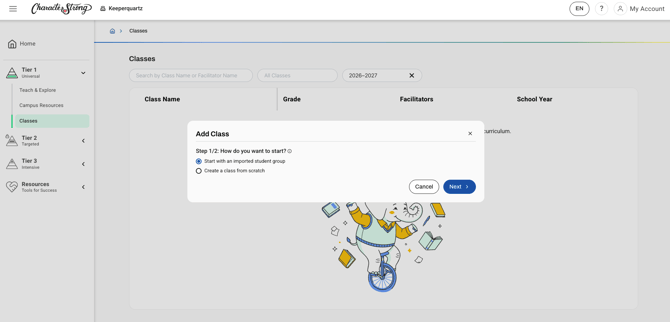
- Choose to use a class that is rostered to you or create one from scratch,
Using a Rostered Class
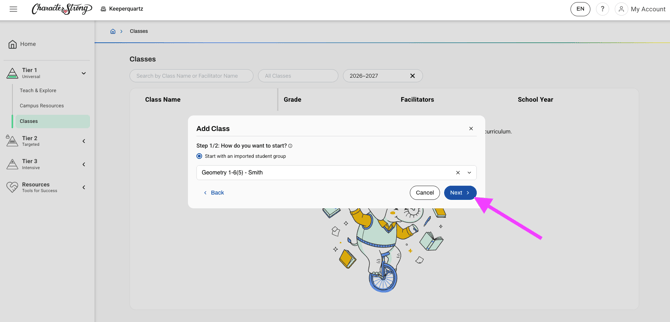
- Select your desired class from the drop-down menu and click "Next."
- Verify the grade level and select the curriculum this class will be working on.
Note: For 6th-12th grade classes, please use the Curriculum drop-down menu to select the correct number of sessions.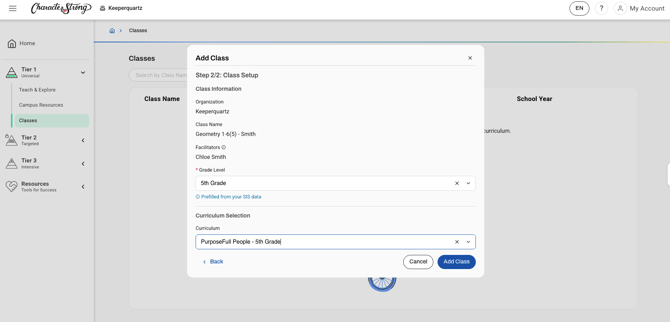
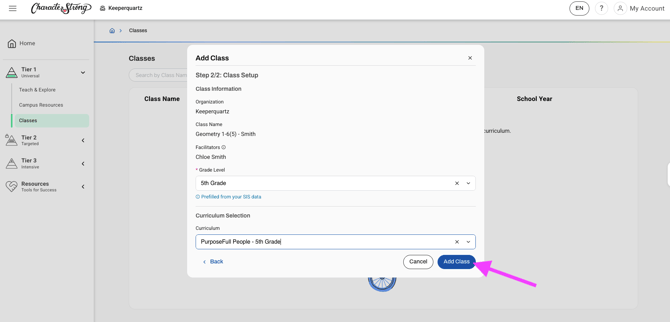
- Once complete, select "Add Class."
Creating a Class from Scratch
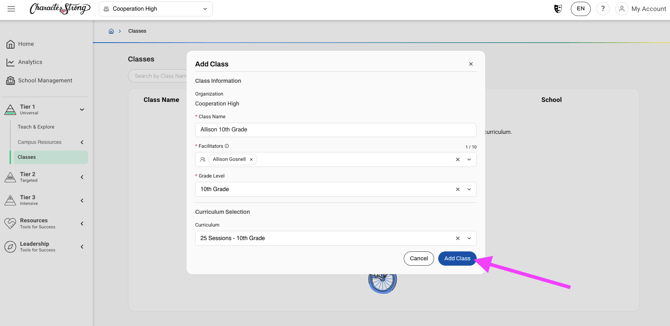
- Fill out the required fields: Class Name, Facilitators, Grade Level. Then, select the curriculum this class will be working on.
Note: For 6th-12th grade classes, please use the Curriculum drop-down menu to select the correct number of sessions.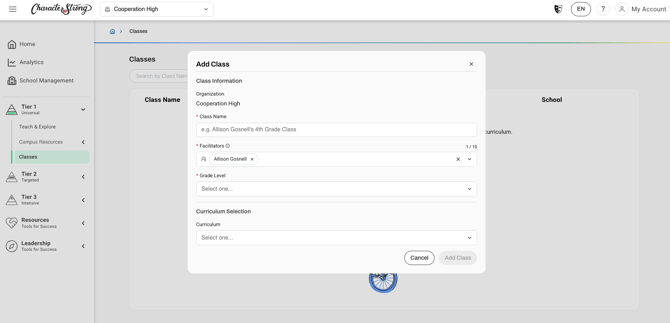
- Once complete, select "Add Class."
Tracking Implementation
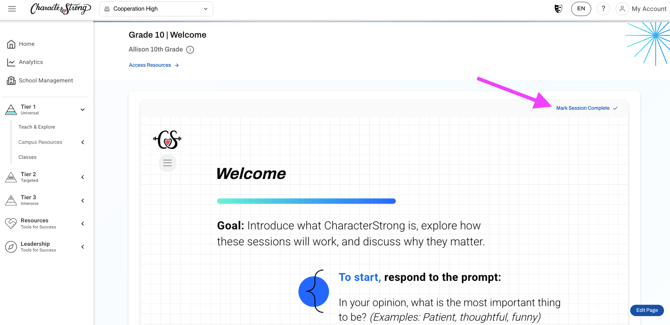
- You are now ready to start teaching! As you work through lessons with this class, mark each session complete to track implementation.
Need Help?
If you need any additional account support:
- Email our Support Team at support@characterstrong.com
- Connect with your Customer Success Manager for personalized guidance
Don't know who your Custom Success Manager is? Reach out to support@characterstrong.com